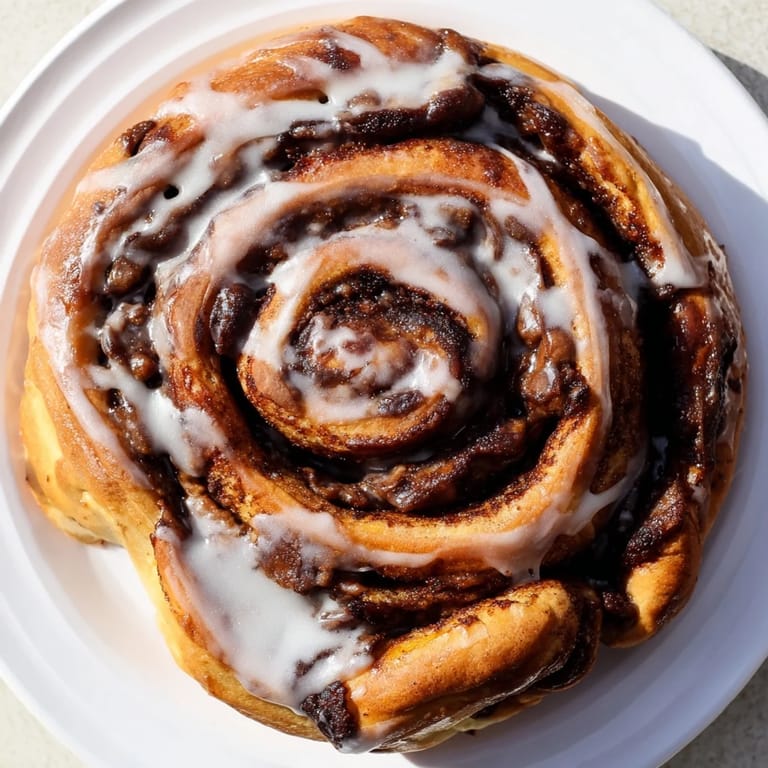
 Pin it
 There's something about the smell of cinnamon rolls baking that stops time in a kitchen. Years ago, my neighbor brought over a plate of them still warm from her oven, and I watched my usually skeptical dad eat three in a row without saying a word. That's when I decided I needed to master this recipe myself, not just for the taste, but for that quiet magic that happens when people gather around something this good.
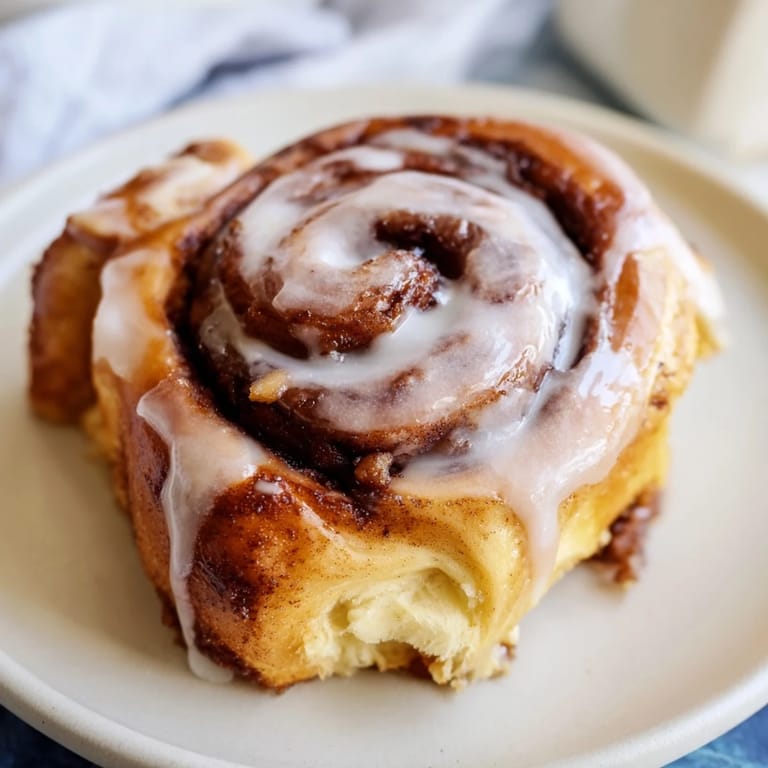
I made these for the first time on a rainy Saturday when I had nowhere to be. My partner came downstairs halfway through the rising time, caught a whiff of the dough proofing, and just sat at the kitchen table waiting. We didn't even talk much, but when those rolls came out of the oven and I drizzled the glaze over them, that moment felt like the whole point of knowing how to cook.
Ingredients
- All-purpose flour (4 cups): This is your foundation, and using the right amount matters more than you'd think—I learned to weigh mine after one batch turned dense because I packed the measuring cup too hard.
- Active dry yeast (1 packet): Fresh yeast makes a real difference, so check your expiration date and don't skip the frothy bloom stage.
- Whole milk, lukewarm (1 cup): Temperature is everything here—too hot and you'll kill the yeast, too cool and nothing happens, so aim for around 110°F if you have a thermometer.
- Granulated sugar (⅓ cup): This feeds the yeast and sweetens the dough just enough without overpowering the cinnamon filling.
- Unsalted butter, melted (¼ cup): Melted butter in the dough keeps these rolls tender, while the softened butter in the filling creates that signature richness.
- Large egg, room temperature: Brings structure and richness to the dough—cold eggs won't mix properly into the dough.
- Salt (½ tsp): A small amount that you won't taste but absolutely need for balance.
- Brown sugar, packed (½ cup): The packed measurement matters because brown sugar holds moisture that keeps the filling from drying out during baking.
- Ground cinnamon (2 tbsp): This is where you can taste your choices—don't cheap out here, because good cinnamon tastes warm and complex instead of dusty.
- Unsalted butter, softened (¼ cup): Softened, not melted, so it spreads evenly and creates those golden pockets throughout the roll.
- Powdered sugar (1 cup): Mixed with milk and vanilla to create a glaze that's thick enough to coat but thin enough to drizzle.
- Milk (2–3 tbsp): Adjust this based on how thick you like your glaze—start with less and add more as you whisk.
- Pure vanilla extract (½ tsp): A small amount that rounds out the sweetness and makes the glaze taste less one-dimensional.
Tired of Takeout? 🥡
Get 10 meals you can make faster than delivery arrives. Seriously.
One email. No spam. Unsubscribe anytime.
Instructions
- Wake up the yeast:
- Pour your lukewarm milk into a small bowl and sprinkle the yeast over it. Let it sit for about 5 minutes until it looks foamy on top—this tells you the yeast is alive and ready to work. If it doesn't foam, your yeast is dead and you'll need to start over with a fresh packet.
- Build the dough:
- In a large bowl, combine your flour, sugar, and salt, then make a little well in the center. Pour in the melted butter, egg, and that foamy yeast mixture, stirring until everything comes together into a shaggy dough. It'll look rough at this stage, but that's exactly right.
- Knead until smooth:
- Turn the dough out onto a lightly floured surface and knead for 8 to 10 minutes, pushing it away from you with the heel of your hand, then folding it back over itself. You'll feel it transform from sticky and resistant to smooth and elastic—that's when you know you're done. Place it in a greased bowl, cover with a damp kitchen towel, and let it rise in a warm spot for about an hour until it's roughly doubled in size.
- Stretch and fill:
- Once your dough has risen, punch it down gently and turn it out onto a clean surface. Roll it into a 16-by-12-inch rectangle, then spread your softened butter evenly across the whole thing. Mix your brown sugar and cinnamon in a small bowl and sprinkle it generously over the butter, making sure to get into the corners.
- Roll and slice:
- Starting from one of the long sides, roll the dough up into a tight log, tucking as you go so the filling doesn't escape. Using a sharp serrated knife or even unflavored dental floss (seriously, it works), cut the log into 12 equal pieces—I eyeball it as six cuts to make two columns of six rolls each. If you try to saw back and forth with a dull knife, you'll squish the rolls, so use a gentle, swift slicing motion.
- Second rise:
- Arrange your rolls in a greased 9-by-13-inch baking dish in a snug but not cramped pattern—they should be just barely touching. Cover loosely with plastic wrap or a damp towel and let them rise for 30 to 45 minutes until they puff up and look light. You'll see them expand into each other, which is perfect because that's how they stay so soft when baked.
- Bake to golden:
- Heat your oven to 350°F while the rolls do their final rise. Once they're puffy and ready, slide the baking dish in and bake for 22 to 25 minutes until the tops turn a deep golden brown. The sides touching the baking dish will be especially golden, and that's where some of the best flavor comes from.
- Glaze while warm:
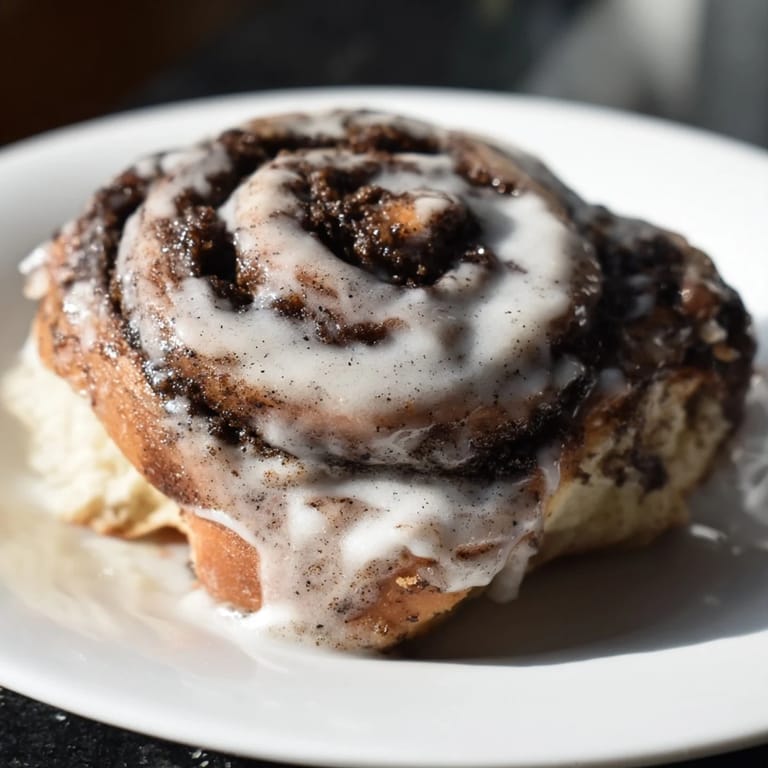
- While the rolls are still hot, whisk together your powdered sugar, milk, and vanilla extract until you get a pourable consistency. Drizzle it generously over the warm rolls so it pools slightly into the cracks and gaps. This is when the kitchen smells like absolute heaven.
 Pin it
 I once made these rolls for a friend going through a rough time, and she later told me that waking up to them the next morning made her cry—not sad tears, but the kind that remind you someone was thinking of you while you slept. That's when I realized these rolls aren't just breakfast; they're a way of showing up for people.
Making Them Ahead
One of my favorite tricks is preparing these rolls the night before and letting them rise slowly in the refrigerator overnight. Just assemble them, cover the baking dish with plastic wrap, pop it in the fridge, and in the morning you can bake them fresh—the slow cold rise actually makes them even better. If you want them for breakfast, set your oven to preheat while you're still in bed, and they'll be ready by the time you're fully awake.
Variations and Swaps
I've experimented with swapping half the milk for heavy cream in the dough, and the difference is noticeable—they become almost decadent, though honestly sometimes the classic version is exactly what you need. I've also sprinkled chopped pecans or walnuts into the filling, or added a handful of raisins that plump up during baking and surprise you with bursts of sweetness.
Storage and Reheating
Fresh rolls are obviously best, but they'll keep in an airtight container for a few days and reheat beautifully when you wrap them loosely in foil and warm them gently in a 300°F oven for about 10 minutes. I've also frozen them after glazing and reheated them with great success, though the texture is slightly different. A quick tip: if you have leftovers (which is rare), don't microwave them because they get tough—slow reheating is always the move.
- Keep them covered at room temperature if you're eating them within a day or so.
- Refrigerate for longer storage, and pull them out before reheating to let them come closer to room temperature.
- Freeze them on a baking sheet before transferring to a freezer bag if you want to save them for weeks.
 Pin it
 There's a quiet joy in pulling a tray of cinnamon rolls from the oven and knowing you made something that turns an ordinary morning into something people will remember. I hope your kitchen smells as amazing as mine does every time I make these.
Recipe FAQs
- → How can I make the buns extra rich?
Substitute half of the milk with heavy cream for a richer dough and softer texture.
- → What tools do I need for shaping the buns?
A rolling pin to flatten the dough and a serrated knife or dental floss to cut the rolled log into even pieces.
- → Can I add any variations to the filling?
You can add chopped nuts or raisins to the cinnamon-sugar filling for extra flavor and texture.
- → What is the best way to handle leftover buns?
Store leftovers in an airtight container and gently reheat before serving to restore softness and glaze freshness.
- → How do I know when the buns are fully baked?
Look for a golden brown color on the surface, and the buns should sound hollow when tapped lightly.