 Pin it
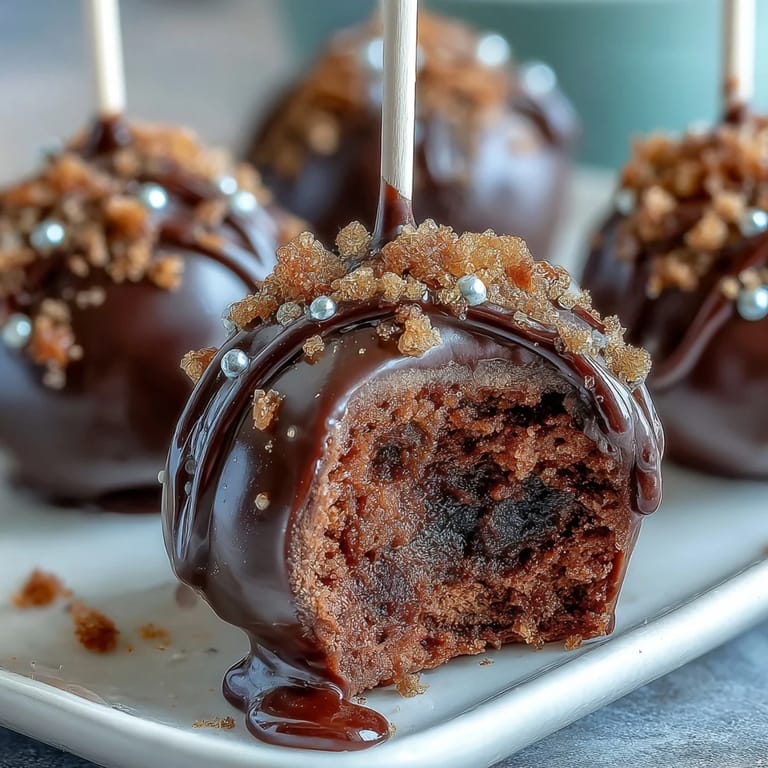
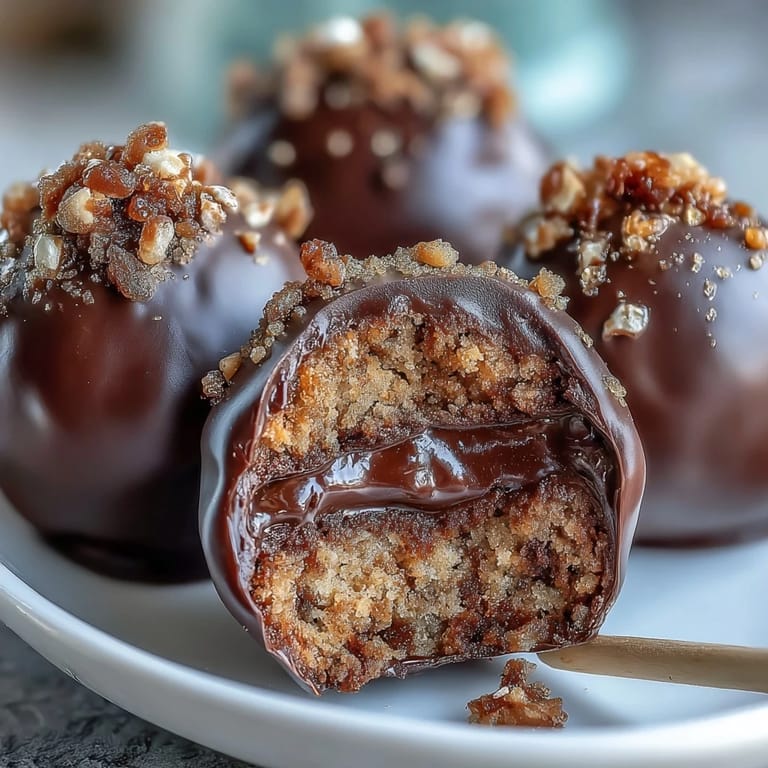
 My neighbor knocked on the door last March with a sheepish grin, holding up a photo from Pinterest. She wanted to make something "magical" for her daughter's St. Patrick's Day party, and somehow I got roped into the kitchen adventure. We stood there surrounded by bowls and candy melts, laughing at how our first batch looked more like lumpy potatoes than pots of gold, but by the third try, something clicked—the black coating gleamed like actual cauldrons, and when we crowned them with gold sprinkles, even I had to admit they were pretty spectacular.
That party turned out to be a bigger deal than expected—my neighbor's daughter had invited the whole class, and watching two dozen kids bite into those cake pops and see their faces light up made me understand why she'd been so determined. One kid actually said they tasted like "fancy chocolate happiness," which became the highest compliment I've ever received for a dessert.
Ingredients
- Chocolate cake mix (1 box, 400 g): Use a quality mix if you can—it makes the cake balls taste less dusty and holds together better when crumbled.
- Chocolate frosting (120 g or ½ cup): Store-bought works perfectly fine here; this isn't the place to tire yourself out with homemade buttercream.
- Black candy melts (400 g or 14 oz): These are your pot coating, and honestly, the black looks more dramatic and polished than brown ever could.
- Gold sprinkles or edible gold pearls (48 g or 2 oz): These transform the whole thing from plain to "where did you buy this"—don't skip them.
- Lollipop sticks (24): Get the thicker ones if possible; they hold the weight better and feel sturdier in hand.
- White candy melts (50 g or 1.75 oz, optional): Perfect for adding a delicate rim detail if you're feeling fancy.
- Green fondant or sprinkles (optional): A tiny shamrock on top sells the whole St. Patrick's Day vibe without overwhelming the design.
Tired of Takeout? 🥡
Get 10 meals you can make faster than delivery arrives. Seriously.
One email. No spam. Unsubscribe anytime.
Instructions
- Bake and cool your chocolate cake:
- Follow the box instructions exactly, then let that cake cool all the way down on a rack—warm cake turns into mush when you crumble it. This step takes patience, but room-temperature cake is your only friend here.
- Transform cake into crumbs:
- Break the cooled cake into a big bowl with your hands, letting it become fine, breadcrumb-like pieces. You want it to look almost like wet sand before you add the frosting.
- Mix in frosting until it's dough-like:
- Add the chocolate frosting gradually, stirring with a spatula or your hands until everything binds together. It should feel like play-dough, holding together when squeezed but not wet.
- Roll and shape your cake balls:
- Scoop roughly equal portions (about 1.5 inches each) and roll them between your palms into smooth spheres, then gently flatten the top to suggest a pot shape. The flatness matters more than perfect roundness here.
- Chill for structure:
- Spread them on parchment paper and refrigerate for 30 minutes—this prevents them from falling apart when you dip them. Those 30 minutes are when you can take a breath and set up your decorating station.
- Prepare your candy melts and insert sticks:
- Melt the black candy melts in a microwave-safe bowl according to package directions, stirring every 20 seconds so it doesn't scorch. Dip each stick tip in the melted candy, then push it halfway into each cake ball, then chill for 10 minutes to lock everything in place.
- Coat with black candy melts:
- Working quickly, dip each cake pop fully into the black coating, letting the excess drip back into the bowl before standing it upright in a styrofoam block. The dipping motion should be confident and swift—hesitation causes thick, uneven coatings.
- Decorate while coating is still wet:
- Immediately after dipping, sprinkle the gold sprinkles or pearls on top of each pop before the black coating sets up. This is the window where everything sticks, so have your decorations ready and within arm's reach.
- Add optional details and shamrocks:
- If using white candy melts for a rim, pipe a thin circle around the top edge of each pot once the black coating has set. Tiny green fondant shamrocks or sprinkles add the final festive touch, making them unmistakably St. Patrick's Day.
- Final set and serve:
- Let them sit completely undisturbed until the coating hardens fully—usually about an hour. They'll keep for three days in an airtight container at room temperature.
 Pin it
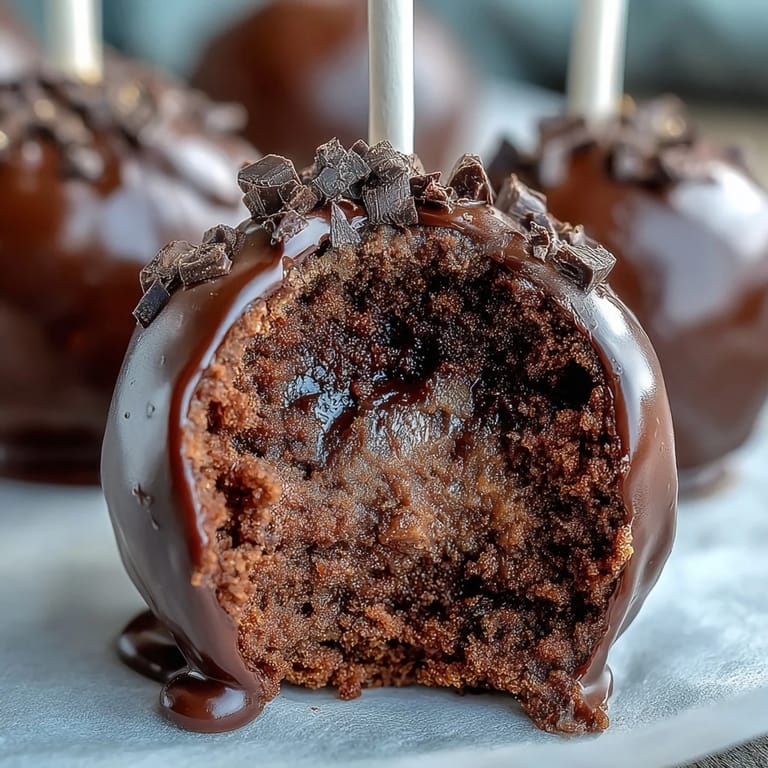
 What started as a Pinterest save became an annual tradition in my neighbor's house, and now every March she asks if I want to help make them again. That's when I realized these aren't really about the cake—they're about having an excuse to spend an afternoon doing something silly and creative with someone you like.
Why Cake Pops Instead of Regular Cake
Cake pops live in this magical space between fancy and approachable—they feel special enough to impress, but they're actually just cake and frosting repurposed. They're also the perfect size for a single bite, which means people feel less guilty about eating two or three, and they photograph beautifully, which secretly matters more than we admit.
Timing and Make-Ahead Strategy
You can make the cake balls up to two days ahead and store them covered in the fridge, then do all your dipping and decorating the day you're serving them. This split approach keeps you sane when you're juggling a party, and the dipping part actually goes faster when you're not also managing wet cake crumbs everywhere.
Troubleshooting and Personal Discoveries
The first time I made these, I didn't flatten the tops, and they looked like dark chocolate truffles instead of pots—not bad, just not the vision. I've also learned that if your candy melts are too thick, they don't drip cleanly, so thin them slightly with a tiny bit of coconut oil if needed. One more thing: if a cake ball falls off the stick into your melted candy, don't panic—just fish it out gently and re-dip it.
- Gold sprinkles stick best when the black coating is still slightly warm, so work in batches rather than dipping everything at once.
- If you're making these for someone with allergies, check every single label because candy melts often hide soy and dairy in unexpected places.
- A styrofoam block from the craft store is cheaper than a fancy cake pop stand and works just as well for upright drying.
 Pin it
 These cake pops have become my favorite kind of recipe—the one where happy accidents lead to traditions. Make them, share them, and don't worry if they're not picture-perfect.
Recipe FAQs
- → How do I shape the cake pops to resemble pots?
After mixing cake crumbs with frosting, roll into balls slightly flattened at the top to mimic a pot shape before chilling and dipping.
- → What is the best way to ensure candy coating sticks well?
Dip the lollipop stick tip in melted candy before inserting it into the cake ball, then chill to set before fully coating the pop.
- → Can I customize the decoration colors?
Yes, you can add white candy melts for accents and green fondant or sprinkles for shamrock details to match festive themes.
- → How long should the pops be refrigerated?
Refrigerate the shaped cake balls for about 30 minutes before dipping, and chill the pops 10 minutes after inserting sticks to secure them.
- → What is a good storage method for the finished pops?
Store in an airtight container at room temperature for up to three days to maintain freshness and coating crispness.