 Pin it
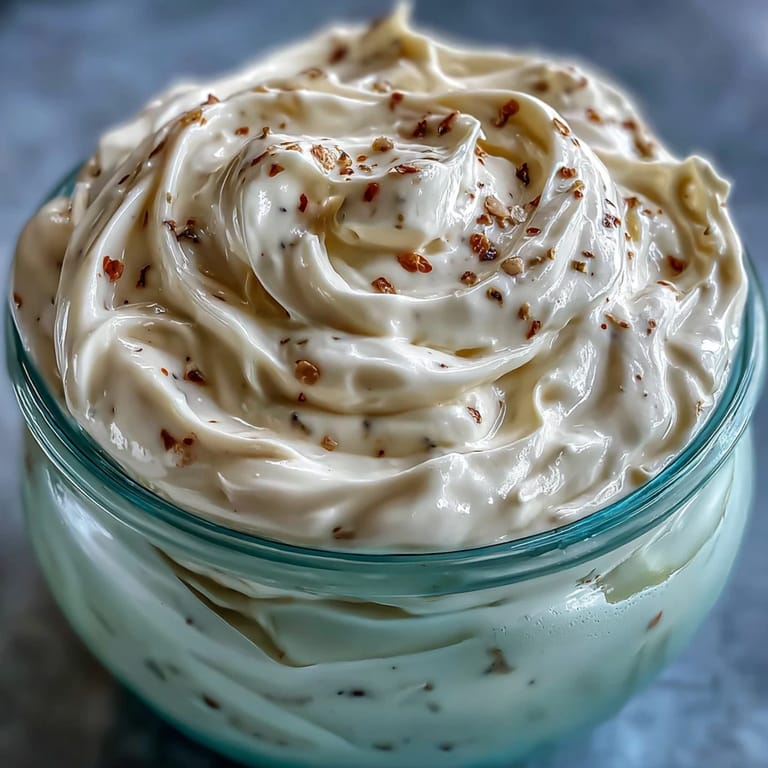
 The sharp whirr of the immersion blender always brings back a sense of accomplishment for me. The first time I made mayonnaise at home, I was convinced it would turn out runny or bland, but instead the kitchen filled with a buttery, rich aroma as the ingredients transformed right before my eyes. It's funny how just a few pantry staples can become something so luxurious in under five minutes. I remember the satisfaction of watching that glossy cream build from nothing as I stood in my kitchen, skeptical at first, then completely won over. There’s something quietly thrilling about making your own mayo—the brisk chill on your spoon, the snap of the jar lid sealing in freshness.
I once made this mayo for a family lunch of grilled cheese sandwiches—and accidentally spilled half the salt onto the egg, worried I’d ruined the batch. My sister just shrugged and suggested we try anyway, and to my surprise, that day we discovered that a pinch more salt with a squeeze of lemon made the sandwiches taste even brighter. Since then, improvised seasoning tweaks have become our trademark. Now, every time we whip up a batch, someone remembers that clumsy mishap and jokes about the ‘salty mayo incident.’
Ingredients
- 1 large egg (room temperature): Starting with a room-temp egg helps the mayo emulsify smoothly, and if you're uneasy about raw eggs, pasteurized works perfectly.
- 1 tablespoon Dijon mustard: The mustard acts as an essential emulsifier, and I’ve found the spicy kick wakes up the flavor beautifully.
- 1 tablespoon white wine vinegar or lemon juice: Acid cuts the richness; I rotate between lemon and vinegar depending on whether I want zing or mellow tang.
- 1 cup neutral oil: Sunflower, canola, or light olive oil keeps the mayo creamy and doesn’t overpower; olive oil adds a Mediterranean depth but can be strong.
- 1/2 teaspoon fine sea salt: Sea salt dissolves quickly, ensuring no gritty bits and perfectly seasoned mayo.
- 1/4 teaspoon freshly ground black pepper (optional): Pepper adds just enough bite; sometimes I skip it, sometimes I double it.
Tired of Takeout? 🥡
Get 10 meals you can make faster than delivery arrives. Seriously.
One email. No spam. Unsubscribe anytime.
Instructions
- Prep the blending container:
- Find a tall, narrow vessel—it's crucial for proper emulsification and avoids splatters.
- Add the base ingredients:
- Crack the egg, scoop the mustard, and pour in vinegar or lemon juice, salt, and pepper if using—let’s layer them gently together.
- Pour in the oil:
- Tip the oil over everything; watching it pool and shimmer feels oddly satisfying.
- Start blending:
- Sink the immersion blender to the bottom, switch it on, and watch as creamy ribbons form in about ten seconds.
- Finish emulsifying:
- Slowly lift and pulse the blender up and down, coaxing every drop of oil into glossy perfection—keep going until it's thick and smooth.
- Taste and adjust:
- Scoop a bit onto your finger, tweak with salt, lemon, or even a dash of garlic if inspired, and blend again.
- Store:
- Scrape the finished mayo into a clean jar, seal up tightly, and store in the fridge—don’t forget to label it!
 Pin it
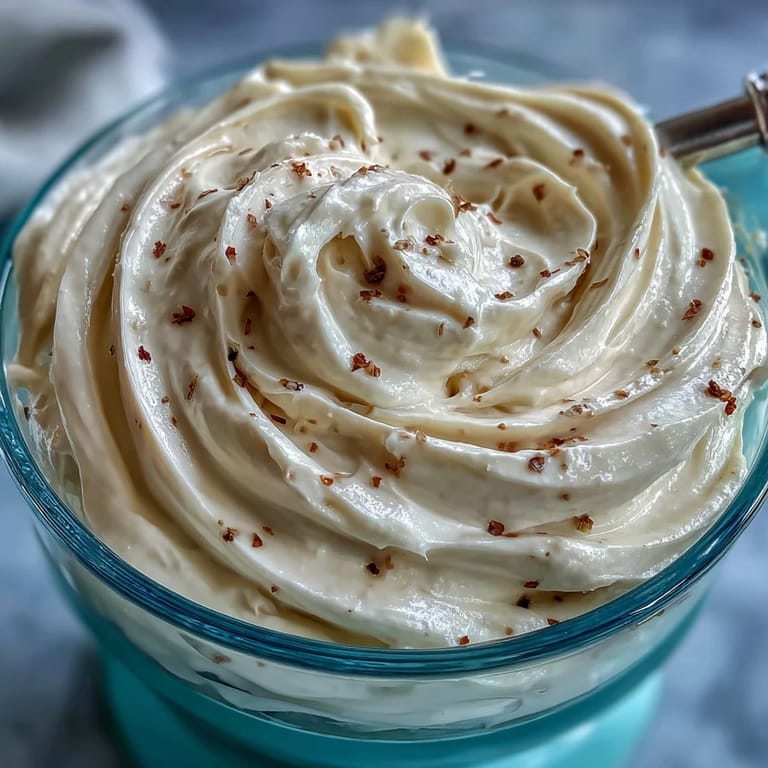
 One afternoon, I handed the immersion blender to my ten-year-old niece and taught her how to pulse the mixture; she was delighted when the mayo thickened under her careful hands. We dipped carrot sticks right into the blending cup, laughing about making ‘chef’s dip’ from scratch. That moment made homemade mayonnaise more than a condiment—it became an invitation to cook together and celebrate little kitchen victories.
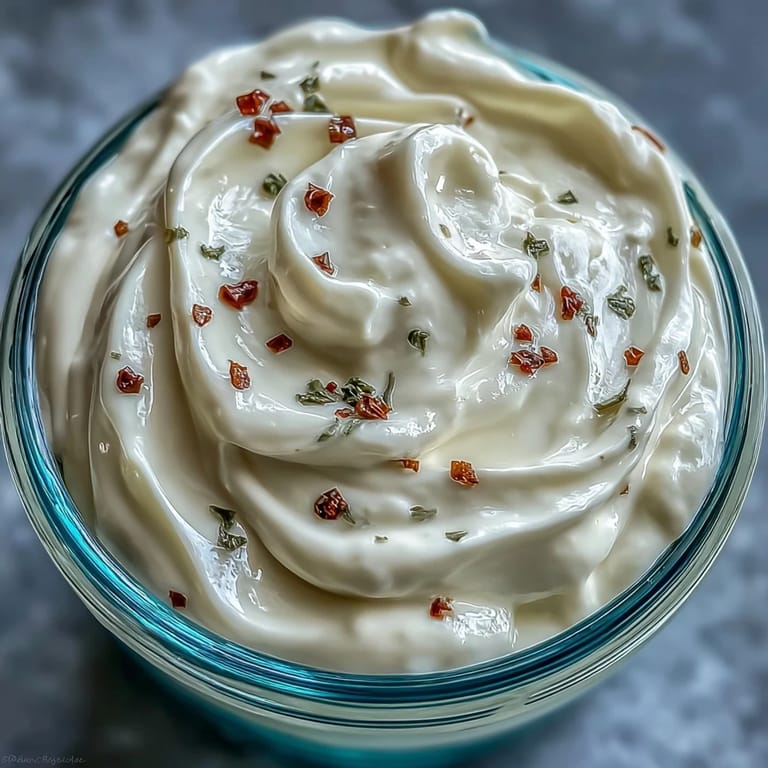
Ways to Customize Your Mayo
Experimenting in the kitchen, I discovered that adding a tiny clove of garlic transforms basic mayo into silky aioli. Sometimes I throw in chopped fresh herbs for color and an earthy punch—dill or tarragon are surprisingly good. Smoky paprika or a touch of sriracha makes a playful, bold spread that’s perfect for burgers. Once, my friend mixed in chipotle and lime, and suddenly every taco night needed homemade mayo.
Quick Storage and Freshness Tips
Whenever I make a fresh batch, I label the jar with the date so nobody forgets how long it’s been in the fridge. Homemade mayo will last about a week—any longer and I notice the flavor starts to break down, losing its creamy charm. A tightly-sealed jar not only keeps it cold but maintains that lush thickness until the very last spoonful.
Helpful Tools and Troubleshooting
Having a reliable immersion blender makes all the difference—I once borrowed a friend’s and the results were lumpy, proving not all blenders are created equal. Using a narrow container instead of a wide bowl ensures perfect emulsification every time, and stirring in a bit more acid can rescue a batch that’s too thick. The right measuring spoons reduce guesswork, especially when flavor tweaks are needed. The simple act of scraping the last bits out with a spatula makes sure nothing goes to waste.
- If your mayo turns out runny, blend again slowly and add a little extra oil.
- Store it chilled to retain its creamy texture.
- Don’t skip labeling the jar—it saves you from guessing freshness later.
 Pin it
 This recipe is a little secret weapon for quick lunches and impromptu gatherings. Once you make it yourself, you'll start seeking new ways to flavor or share it every week.
Recipe FAQs
- → Can I use olive oil instead of neutral oil?
Yes, olive oil can be used for a richer flavor, but it will make the mayonnaise taste stronger and less neutral.
- → How long does homemade mayonnaise last?
Store it refrigerated in a sealed jar for up to one week. Always use clean utensils to prevent spoilage.
- → Is it necessary to use room temperature eggs?
Room temperature eggs help ensure smooth emulsification, resulting in a thicker and creamier spread.
- → Can I adjust the flavor of mayonnaise?
Absolutely. Add more vinegar or lemon juice for tanginess, or blend in garlic and herbs for extra depth.
- → What tools are required for this method?
You'll need an immersion blender, a tall blending container, measuring spoons, and a jar with lid for storage.
- → Is homemade mayonnaise gluten-free and vegetarian?
Yes, this method uses gluten-free and vegetarian ingredients, making it suitable for various dietary preferences.