 Pin it
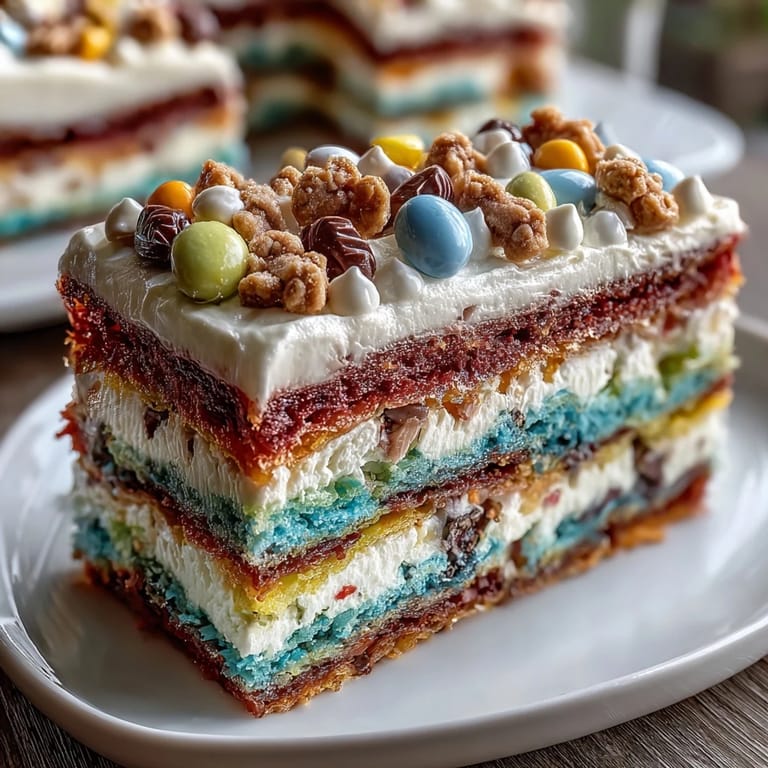
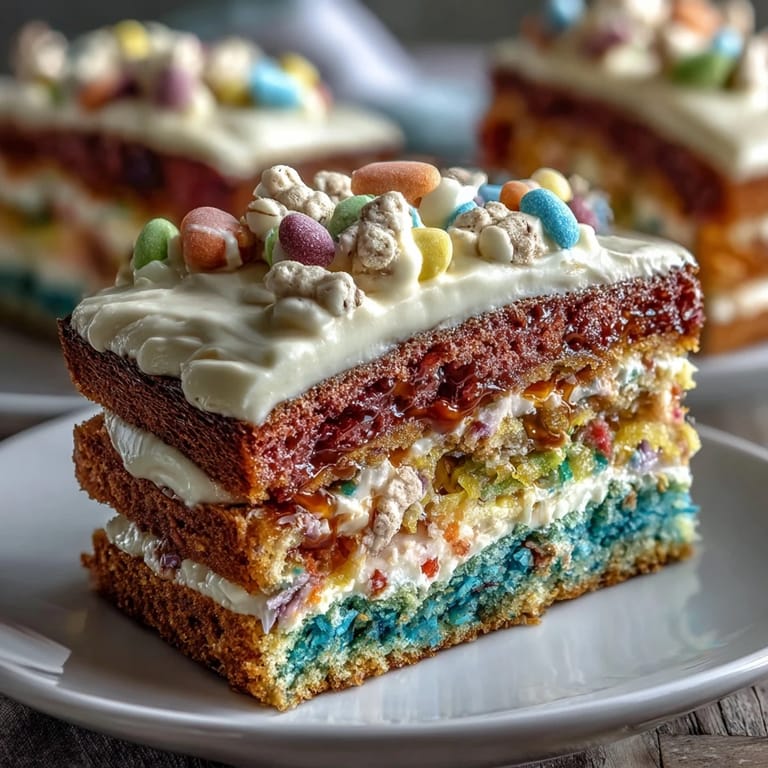
 My cousin texted me a photo of a piñata cake she'd seen online, and I knew immediately this was the show-stopper Cinco de Mayo needed. The idea of slicing into rainbow layers only to have candy tumble out felt like pure magic—the kind of dessert that makes people gasp before they even taste it. I spent an afternoon in the kitchen mixing and tinting batters, feeling a little like a mad scientist with my gel food coloring bottles lined up like potions. The smell of vanilla cake baking in waves, three pans at a time, had my kitchen smelling like a celebration before anyone even arrived. That's when I realized: this wasn't just a cake, it was an experience waiting to happen.
My family gathered around the kitchen island as I lifted that final frosted layer, and I'll never forget the sound of candy hitting the plate as it cascaded down. My nine-year-old nephew's eyes went wide, and suddenly everyone wanted seconds just to see the surprise again. That's when I understood why this cake exists—it transforms a simple dessert into a memory, the kind people talk about for months.
Ingredients
- All-purpose flour: The foundation of your cake's structure; sifting it prevents lumps and aerates for a tender crumb.
- Baking powder and baking soda: Work together to lift the cake; don't skip the baking soda or your yellow and green layers won't rise quite right.
- Unsalted butter: Softened to room temperature is non-negotiable; cold butter won't cream properly and you'll lose that fluffy texture you want.
- Granulated sugar: Creaming it with butter creates tiny air pockets that give the cake its delicate crumb.
- Room temperature eggs: They incorporate more smoothly and create a better emulsion with the butter; cold eggs can cause the batter to break.
- Vanilla extract: Two teaspoons gives you enough flavor without overpowering the festive appearance.
- Whole milk: The fat content keeps the cake moist; don't use skim or you'll end up with a drier crumb.
- Gel food coloring: Essential for vibrant layers without adding extra liquid that would mess with your batter consistency; liquid coloring can make the cake watery.
- Assorted small candies: Mini M&Ms, gummy bears, and sprinkles create the wow factor; avoid chocolate that might melt or anything larger than a marble.
- Powdered sugar: Sift it before using so your frosting is smooth and lump-free; this one step makes all the difference.
Tired of Takeout? 🥡
Get 10 meals you can make faster than delivery arrives. Seriously.
One email. No spam. Unsubscribe anytime.
Instructions
- Set the stage:
- Preheat your oven to 350°F and grease those pans thoroughly; line the bottoms with parchment paper so your layers release without sticking. If you only have three pans, you'll be baking in batches, which is fine—your oven will thank you for not being crowded.
- Build the dry foundation:
- Whisk together your flour, baking powder, baking soda, and salt in one bowl so everything is evenly distributed. This step prevents streaks of baking soda in your batter, which would taste bitter.
- Cream the magic:
- Beat butter and sugar for about three minutes until it looks pale and fluffy, like soft clouds. This incorporates air, which is what makes your cake tender instead of dense.
- Add eggs with care:
- Drop in one egg at a time, beating well after each addition so it fully incorporates before the next one arrives. Add your vanilla here too.
- Alternate and fold:
- Add your dry mixture in three parts, alternating with milk—dry, wet, dry, wet, dry—and mix just until you don't see streaks of flour anymore. Overmixing develops gluten and makes the cake tough, so stop when it just comes together.
- Paint with color:
- Divide your batter into six equal portions and add a different gel color to each one—red, orange, yellow, green, blue, and purple.
- Stir gently until the color is even; the gel mixes in quickly without adding moisture like liquid coloring would.
- Fill and bake:
- Pour each colored batter into its prepared pan and smooth the tops with an offset spatula. Bake for 15 to 18 minutes until a toothpick comes out clean; the layers bake fast because they're not thick.
- Cool with patience:
- Let them sit in the pans for ten minutes so they set slightly, then turn them out onto wire racks to cool completely. Warm cake layers are fragile and won't stack well.
- Cut your centers:
- Once completely cool, use a 3-inch round cutter to punch a hole in the centers of four of your six layers. Keep the top and bottom layers whole—they're your containers.
- Make the frosting:
- Beat softened butter until it's creamy, then gradually add your sifted powdered sugar so lumps don't stand a chance. Add milk, vanilla, and a pinch of salt; beat until it's fluffy and spreadable.
- Stack like you mean it:
- Place your purple (or darkest) layer on your serving plate, spread frosting, then add a cut-out layer on top. Repeat this sandwich-building process with all your layers, frosting lightly between each one.
- Fill the cavity:
- Pour your candy mixture into the center hole you've created—this is the moment it gets real. Use whatever small candies make you happy; this is your piñata.
- Cap and frost:
- Place your final whole layer on top like a lid, then frost the entire outside generously. The frosting holds everything together and makes it look stunning.
- Chill before the reveal:
- Refrigerate for at least thirty minutes so the frosting sets and the layers hold firm. Cold cake slices cleaner and the candy stays right where you put it.
 Pin it
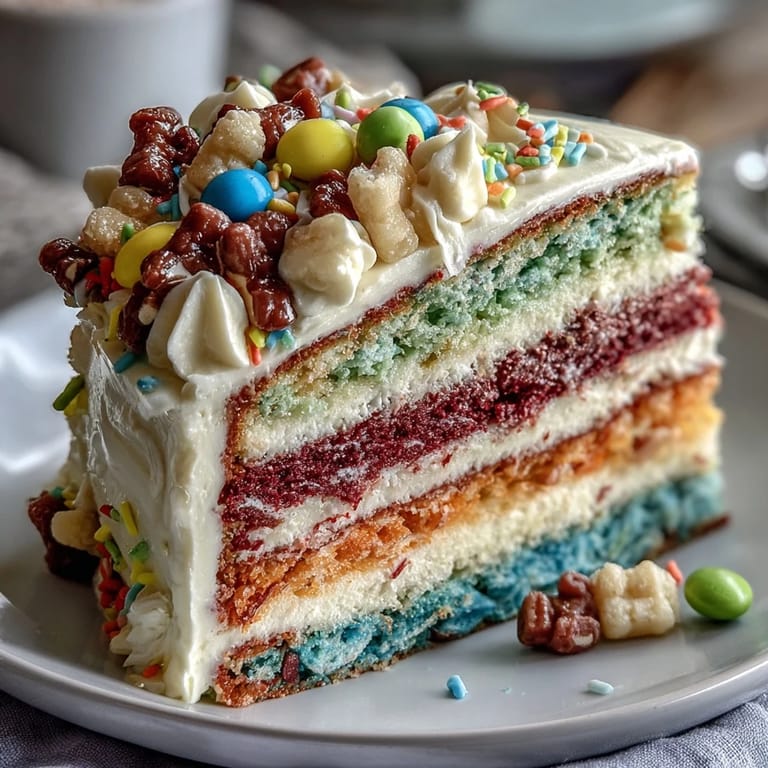
 Weeks later, my cousin sent me a video of her making this cake for her daughter's birthday party, and I got a little emotional seeing those kids' faces light up. That's the gift of a recipe like this—it travels beyond your kitchen and becomes someone else's favorite story to tell.
The Rainbow Layer Strategy
Dividing your batter into six portions feels like a lot, but it's actually the easiest way to get those perfect jewel-toned layers. I learned to label my bowls with the color names using a marker so I didn't accidentally mix up my blue and purple, which apparently look suspiciously similar when you're tired and it's mid-afternoon. The gel coloring is forgiving—a little goes a long way, and you can always add more if the color isn't vibrant enough.
Why the Hole-Cutting Method Works
Using a 3-inch cutter to hollow out the middle of four layers creates a cavity that holds way more candy than you'd expect, and the engineering is actually clever. The weight of the frosting and top layer holds everything in place, so it's stable enough to slice without the candy shifting around. I tried stacking cut-out layers randomly once and the cake leaned like the Tower of Pisa—now I'm methodical about it.
Assembly and Decoration Ideas
The frosting is your blank canvas, and you can tint portions of it to match your rainbow layers if you want a coordinated look. Some people go wild with piped borders and swirls, while others keep it simple with a sprinkle of the same candies they hid inside—both look stunning. The key is having fun with it; this cake practically decorates itself because the colors are already doing the heavy lifting.
- You can bake extra colored cake layers ahead and freeze them, so assembly day is just about stacking and frosting.
- If your kitchen is hot and frosting gets soft, pop the assembled cake in the fridge for twenty minutes and it'll firm right back up.
- Slice with a long, hot knife—dip it in hot water and wipe it between each cut so you don't drag frosting and smush your layers.
 Pin it
 This cake is proof that the best desserts aren't just about taste—they're about the joy of surprising the people you love. Make this once and you'll find yourself making it again and again, tweaking the candy filling each time until it's perfectly yours.
Recipe FAQs
- → How do I create the colorful layers?
Divide the batter evenly and add different gel food coloring to each portion before baking for vibrant, distinct layers.
- → What types of candies work best for the filling?
Small-sized candies like mini M&Ms, sprinkles, or gummy bears are ideal to fit neatly inside without affecting structure.
- → How do I ensure clean cake layers?
Bake each layer until a toothpick comes out clean and cool completely before stacking to prevent crumbling.
- → Can I make this cake ahead of time?
Yes, chill the assembled cake for at least 30 minutes before slicing to maintain its shape and reveal the candy inside.
- → Are substitutions possible for dietary needs?
Gluten-free flour blends can replace all-purpose flour for gluten sensitivity; adjust baking times as necessary.