 Pin it
 My grandmother's kitchen always smelled like vanilla and butter on Sunday afternoons, and that's where I first understood that banana pudding wasn't just a dessert—it was how she showed love. She'd let me crack the eggs into a bowl while she whispered the secret about tempering them just right, and watching her layer those wafers with such care taught me that the best recipes are the ones we actually slow down for. That dish has been my answer ever since when someone asks what comfort tastes like.
I made this for a potluck once where I was nervous about showing up with something "boring," but three people asked for the recipe before dessert was even finished, and one friend said it tasted like a memory she didn't know she had. That's when I realized banana pudding isn't about being fancy—it's about being real.
Ingredients
- Granulated sugar (3/4 cup): This sweetens the pudding base without overwhelming the banana flavor, and the amount is carefully balanced so it's rich but not cloying.
- Cornstarch (1/4 cup): This is what gives your pudding that silky, spoonable thickness—skip it or shortchange it, and you'll end up with sauce instead of pudding.
- Salt (1/4 tsp): Just enough to wake up all the other flavors and make the vanilla sing.
- Whole milk (3 cups): Don't use skim; the fat is what makes this creamy and luxurious.
- Egg yolks (4 large): These create that custard-like richness that makes it feel special—and tempering them is easier than it sounds.
- Unsalted butter (2 tbsp): This adds a whisper of richness at the very end, making everything feel a little more indulgent.
- Vanilla extract (2 tsp): Use real vanilla, not imitation—you'll taste the difference.
- Vanilla wafers (1 box, 340 g): These soften slightly as they soak up the pudding, creating little pockets of texture throughout.
- Ripe bananas (4 medium): Slice them just before assembly so they don't brown, and make sure they're ripe enough to have flavor but firm enough to hold their shape.
- Heavy cream (1 cup): This whips into clouds of softness for the topping.
- Powdered sugar (2 tbsp): Just enough sweetness for the whipped cream without making it grainy.
- Vanilla extract (1/2 tsp for topping): A small touch to tie the flavors together.
Tired of Takeout? 🥡
Get 10 meals you can make faster than delivery arrives. Seriously.
One email. No spam. Unsubscribe anytime.
Instructions
- Start with the dry mix:
- Whisk sugar, cornstarch, and salt together in your saucepan—this prevents lumps when the milk goes in. Take your time with this step; it only takes a minute and makes everything after it smooth.
- Build the pudding base:
- Gradually pour in the milk while whisking, making sure no cornstarch hides in the corners. You're aiming for a smooth, lump-free mixture before the heat even touches it.
- Cook until it thickens:
- Over medium heat, stir constantly and watch it transform from liquid to glossy ribbons falling off your whisk—this takes about 6 to 8 minutes. You'll notice the moment it wants to bubble; that's when you know it's ready for the eggs.
- Temper those egg yolks:
- Whisk them together in a separate bowl, then slowly add hot pudding to them while whisking constantly—this prevents scrambled eggs and creates a silky custard. It sounds fussy, but it's really just about going slowly and steady.
- Return to the saucepan:
- Pour the yolk mixture back in while whisking, then cook for another 2 to 3 minutes until everything is thick and smooth. The pudding should coat the back of a spoon now.
- Finish with butter and vanilla:
- Stir these in while the pudding is still warm so they melt completely and distribute evenly.
- Cool it down:
- Transfer to a bowl, press plastic wrap right onto the surface to prevent a skin from forming, and let it cool to room temperature before chilling for about an hour. This is the step people skip, but it makes a real difference in the final texture.
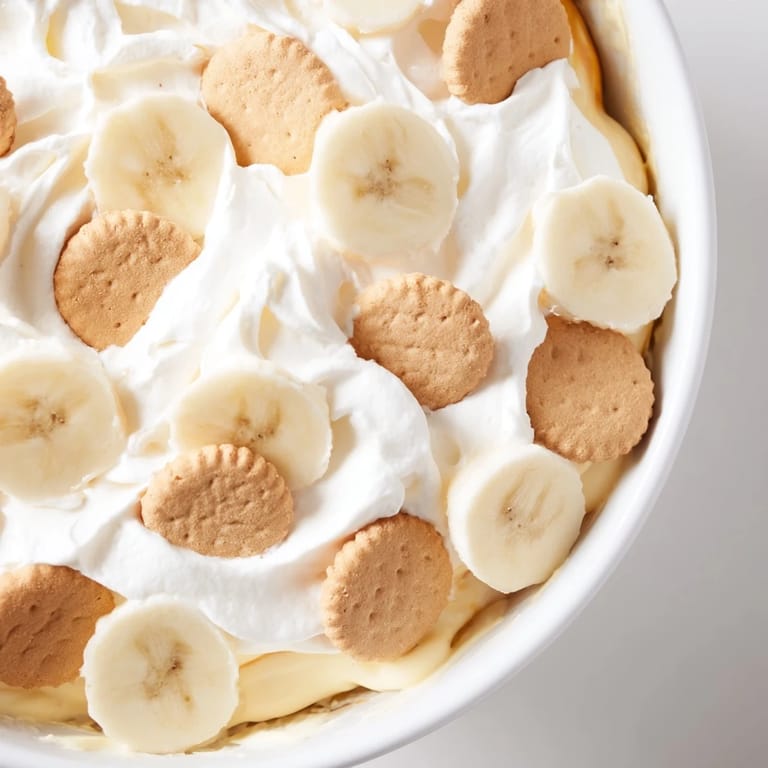
- Layer with intention:
- In your serving dish, start with one-third of the wafers, then one-third of the banana slices, then one-third of the pudding—repeat this twice so you end with pudding on top. The wafers will soften slightly as they sit, creating a tender texture that holds everything together.
- Let it rest:
- Cover and refrigerate for at least 2 hours so all the flavors get to know each other and the whole thing sets up properly.
- Top just before serving:
- Whip your cream with powdered sugar and vanilla until soft peaks form—this takes just a few minutes with an electric mixer. Spread it over the top gently, and if you want to be fancy, use extra wafers or banana slices as garnish.
 Pin it
 I brought this to my sister's house after her baby was born, and I watched her sit down in her kitchen at midnight, still in pajamas, and eat a spoonful with her eyes closed. She didn't say anything; she just smiled. That's when I knew this recipe had passed from being something I made to being something I give.
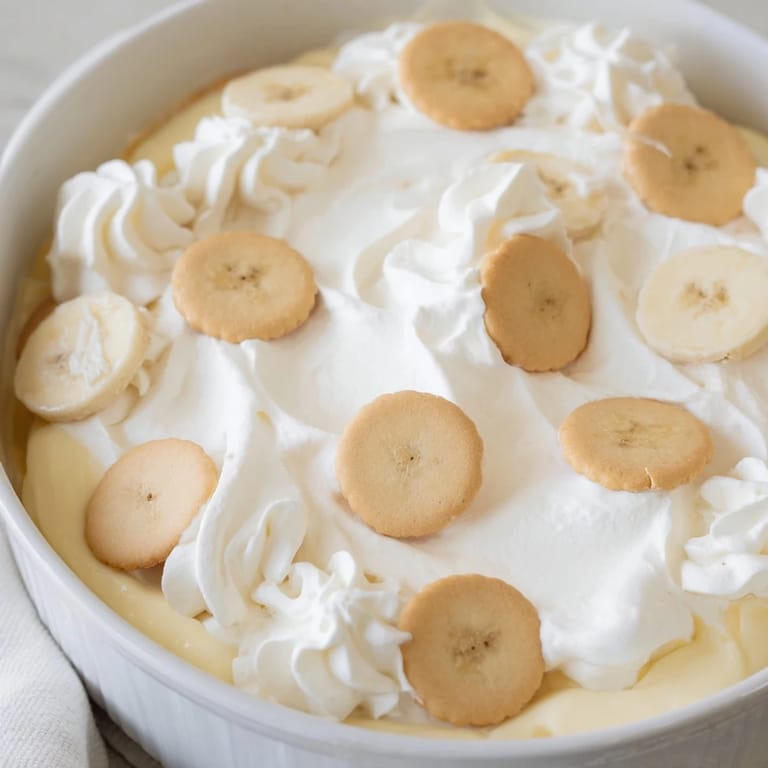
Why the Layering Matters
The magic of banana pudding is in how each layer talks to the others. The wafers soften from the pudding but stay just firm enough to hold the structure, the bananas stay tender and sweet, and the pudding binds everything into something that feels like a complete thought. When you layer it carefully, you're not just assembling dessert—you're creating pockets of texture and flavor that work together.
Timing and Make-Ahead Options
You can make the pudding up to 2 days ahead and keep it covered in the refrigerator, which actually helps—it gives you one less thing to worry about on the day you're serving. The assembly itself only takes 10 minutes once everything is ready, so you can layer it in the morning and let it chill all day. Just add the whipped cream topping within an hour of serving so it stays fluffy and light.
Personal Touches and Variations
This recipe is sturdy enough to handle your own ideas. Some people love a meringue topping baked until golden, others add a splash of bourbon or a sprinkle of cinnamon to the pudding, and one friend of mine layers crushed amaretti cookies in place of some of the wafers for a subtle almond note. The bones of this recipe are strong enough that you can trust your instincts.
- For a lighter version, substitute half the milk with half-and-half or use low-fat milk if that's what you prefer.
- If meringue is your thing, spread stiffly whipped egg whites on top and bake at 350°F until golden brown.
- Store covered in the refrigerator and eat within 24 hours for the best texture.
 Pin it
 Banana pudding is proof that the simplest things, when made with care, become the ones people remember. Make this when you want to remind someone—or yourself—that you're worth the extra few minutes.
Recipe FAQs
- → What type of bananas work best?
Ripe but firm bananas hold their shape well and provide natural sweetness without becoming mushy in the layers.
- → Can I prepare the dessert ahead of time?
Yes, it needs chilling for at least two hours to allow flavors to meld, making it ideal for make-ahead serving.
- → What is the purpose of layering vanilla wafers?
Vanilla wafers add a crisp texture contrast to the creamy pudding and soften slightly during chilling for balanced bites.
- → How is the pudding thickened?
A combination of cornstarch and gentle cooking creates a smooth, thickened pudding that holds its shape well.
- → Can the whipped topping be substituted?
Yes, you can use light whipped topping or meringue as alternatives for different textures and flavors.