 Pin it
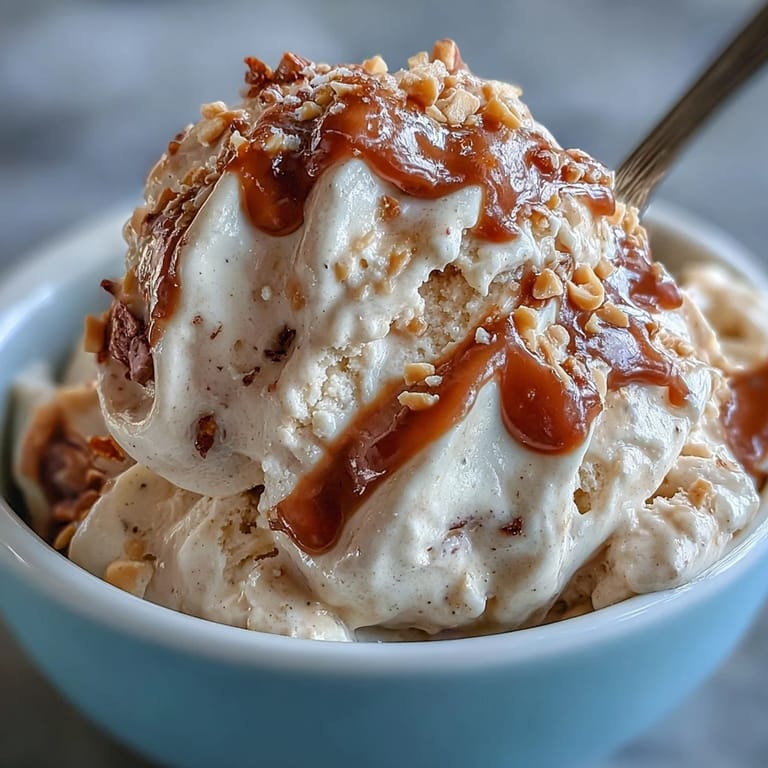
 The first time I made this peanut butter banana ice cream, the kitchen was filled with the mellow hum of my blender and a sweet, nutty aroma that caught my attention between chores. There was no big plan—just overripe bananas ripe for rescuing and a stubborn afternoon craving for something cold and creamy. The simplicity of tossing everything together brought a kind of calming focus, and I was genuinely surprised by how decadent the result tasted. Each spoonful felt a little rebellious, being both so healthy and so reminiscent of the real thing. Moments like that make me want to experiment with every spoonful in the kitchen.
One Saturday, I whipped up a batch of this ice cream for some friends after a long, sticky walk in the park. We barely waited for it to firm up and ended up scooping it out of the pan while sharing stories. It was delightfully messy and utterly satisfying, especially with a handful of chocolate chips added at the last minute. The kitchen echoed with laughter and the sound of spoons scraping the last bits from inside the bowl. It felt like summer condensed into creamy bites.
Ingredients
- Bananas: The riper, the better—those brown spots mean extra sweetness and creaminess, which is the secret to a seriously smooth ice cream base.
- Creamy peanut butter: Choose a natural style with just peanuts and salt for deep, nutty flavor and perfect richness.
- Maple syrup (or honey): Adds gentle sweetness—taste as you go, since extra-ripe bananas might make it sweet enough without.
- Vanilla extract: Just a splash balances the banana and peanut flavors and rounds out the whole dessert.
Tired of Takeout? 🥡
Get 10 meals you can make faster than delivery arrives. Seriously.
One email. No spam. Unsubscribe anytime.
Instructions
- Freeze the bananas:
- Slice your ripe bananas and arrange them on a parchment-lined baking sheet so none touch. Pop them in the freezer for about two hours or until they’re frozen solid—you’ll hear that satisfying clatter when you pick them up.
- Blend it all together:
- Add the frozen banana slices, peanut butter, maple syrup, and vanilla extract to your food processor or blender. Pulse, then blend until everything turns ultra-smooth and creamy, pausing to scrape the sides if needed—it’ll look like soft-serve when it’s ready.
- Customize and freeze (optional):
- If you love texture, now’s your moment to fold in chocolate chips or nuts. For a firmer scoop, spread the mixture in a loaf pan, smooth the top, and freeze for another hour or two.
- Serve and enjoy:
- For soft-serve, you can dig in right away—otherwise, use an ice cream scoop and let it rest at room temperature for a few minutes if very firm. Share immediately or secretly sneak a bite straight from the pan.
 Pin it
  Pin it
 The day I handed my partner a bowl of this, he honestly paused, grinned, and asked if I’d snuck in cream and sugar. Watching someone light up over something so simple reminded me that even the humblest ingredients can become magic with a little care. That bowl, eaten cross-legged on the couch on a hot evening, is why this recipe keeps coming back onto the menu.
No Ice Cream Maker Necessary
Using frozen bananas and a trusty blender is like a kitchen shortcut that never disappoints. I always thought homemade ice cream was a summer-long commitment, but this recipe delivers all the creamy texture and flavor in minutes. The food processor does all the work, and you skip the churn and wait of traditional methods.
Toppings to Make It Your Own
This ice cream is a blank canvas for all sorts of kitchen creativity. We’ve swirled in peanut butter ribbons, sprinkled chopped pretzels for crunch, and even drizzled a little melted chocolate on top. If you like your desserts less sweet, stick with just the bananas or try a sprinkle of flaky salt.
A Dessert for Any Day
Sometimes a dish like this is just what you need—a fuss-free dessert that doesn’t require planning or waiting for a special occasion. On lazy days, a quick batch can turn leftover fruit into pure comfort, and it’s a great way to use up those bananas that always seem a little too spotty.
- Keep some sliced bananas in the freezer and you’ll always be a quick blend away from dessert.
- For an extra-smooth result, let the frozen bananas sit out a couple minutes before blending.
- Don’t forget to taste for sweetness as you go—the best ice cream is tuned to your own cravings.
 Pin it
 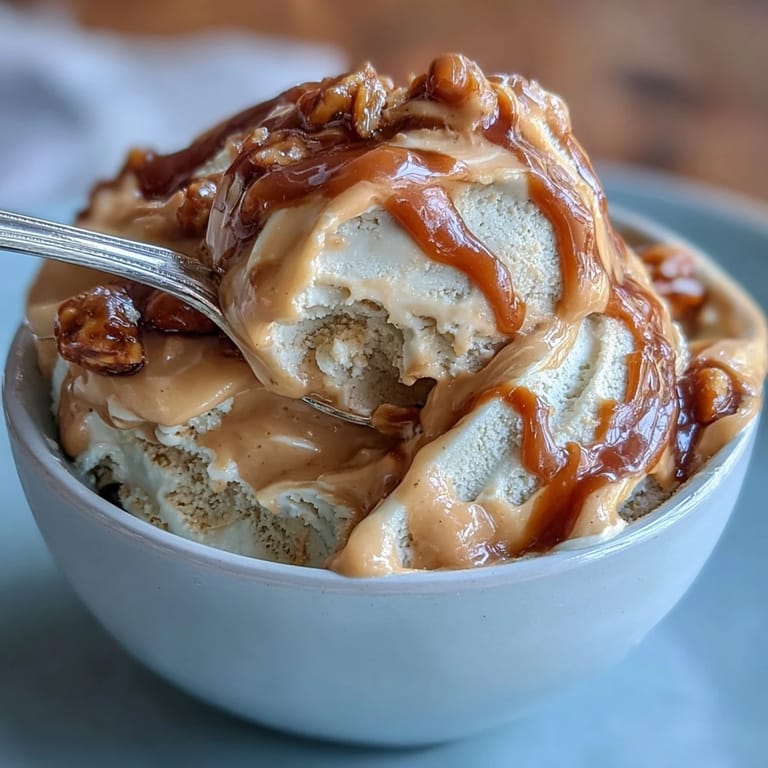 Pin it
 No matter how many times you make this, there’s always something a little playful and new about it. Hope your next batch brings as many smiles to your table as it has to mine.
Recipe FAQs
- → How do I get the creamiest texture?
Use fully frozen banana slices and a high-powered blender or food processor. Pulse and scrape down the sides frequently; the heat from the motor will help turn the bananas into a smooth, creamy base.
- → Can I make this without peanut butter?
Yes—swap peanut butter for almond or cashew butter for a different nutty profile. Keep the same quantity and taste before freezing to adjust sweetness or saltiness.
- → How long will it keep in the freezer?
Stored in an airtight, freezer-safe container, it keeps well for up to 1 month. Let it sit at room temperature for 5–10 minutes before scooping to soften slightly.
- → What sweeteners work best?
Maple syrup provides a mild, complementary sweetness, but honey or agave can be used. Taste the blended mixture and add a bit more if you prefer it sweeter.
- → How can I add texture or mix-ins?
Fold in chocolate chips, chopped nuts, cookie pieces, or swirls of melted chocolate just before the final freeze. For even distribution, chill briefly after folding and then freeze for firm scoops.
- → Is there a way to make single-serve portions?
Blend a small batch using fewer frozen banana slices and portion immediately as soft-serve, or spoon into small containers and freeze for individual servings.